
Rails
The Rails integration provides insights for your Ruby on Rails application stack.
To begin, navigate to the Integrations page:
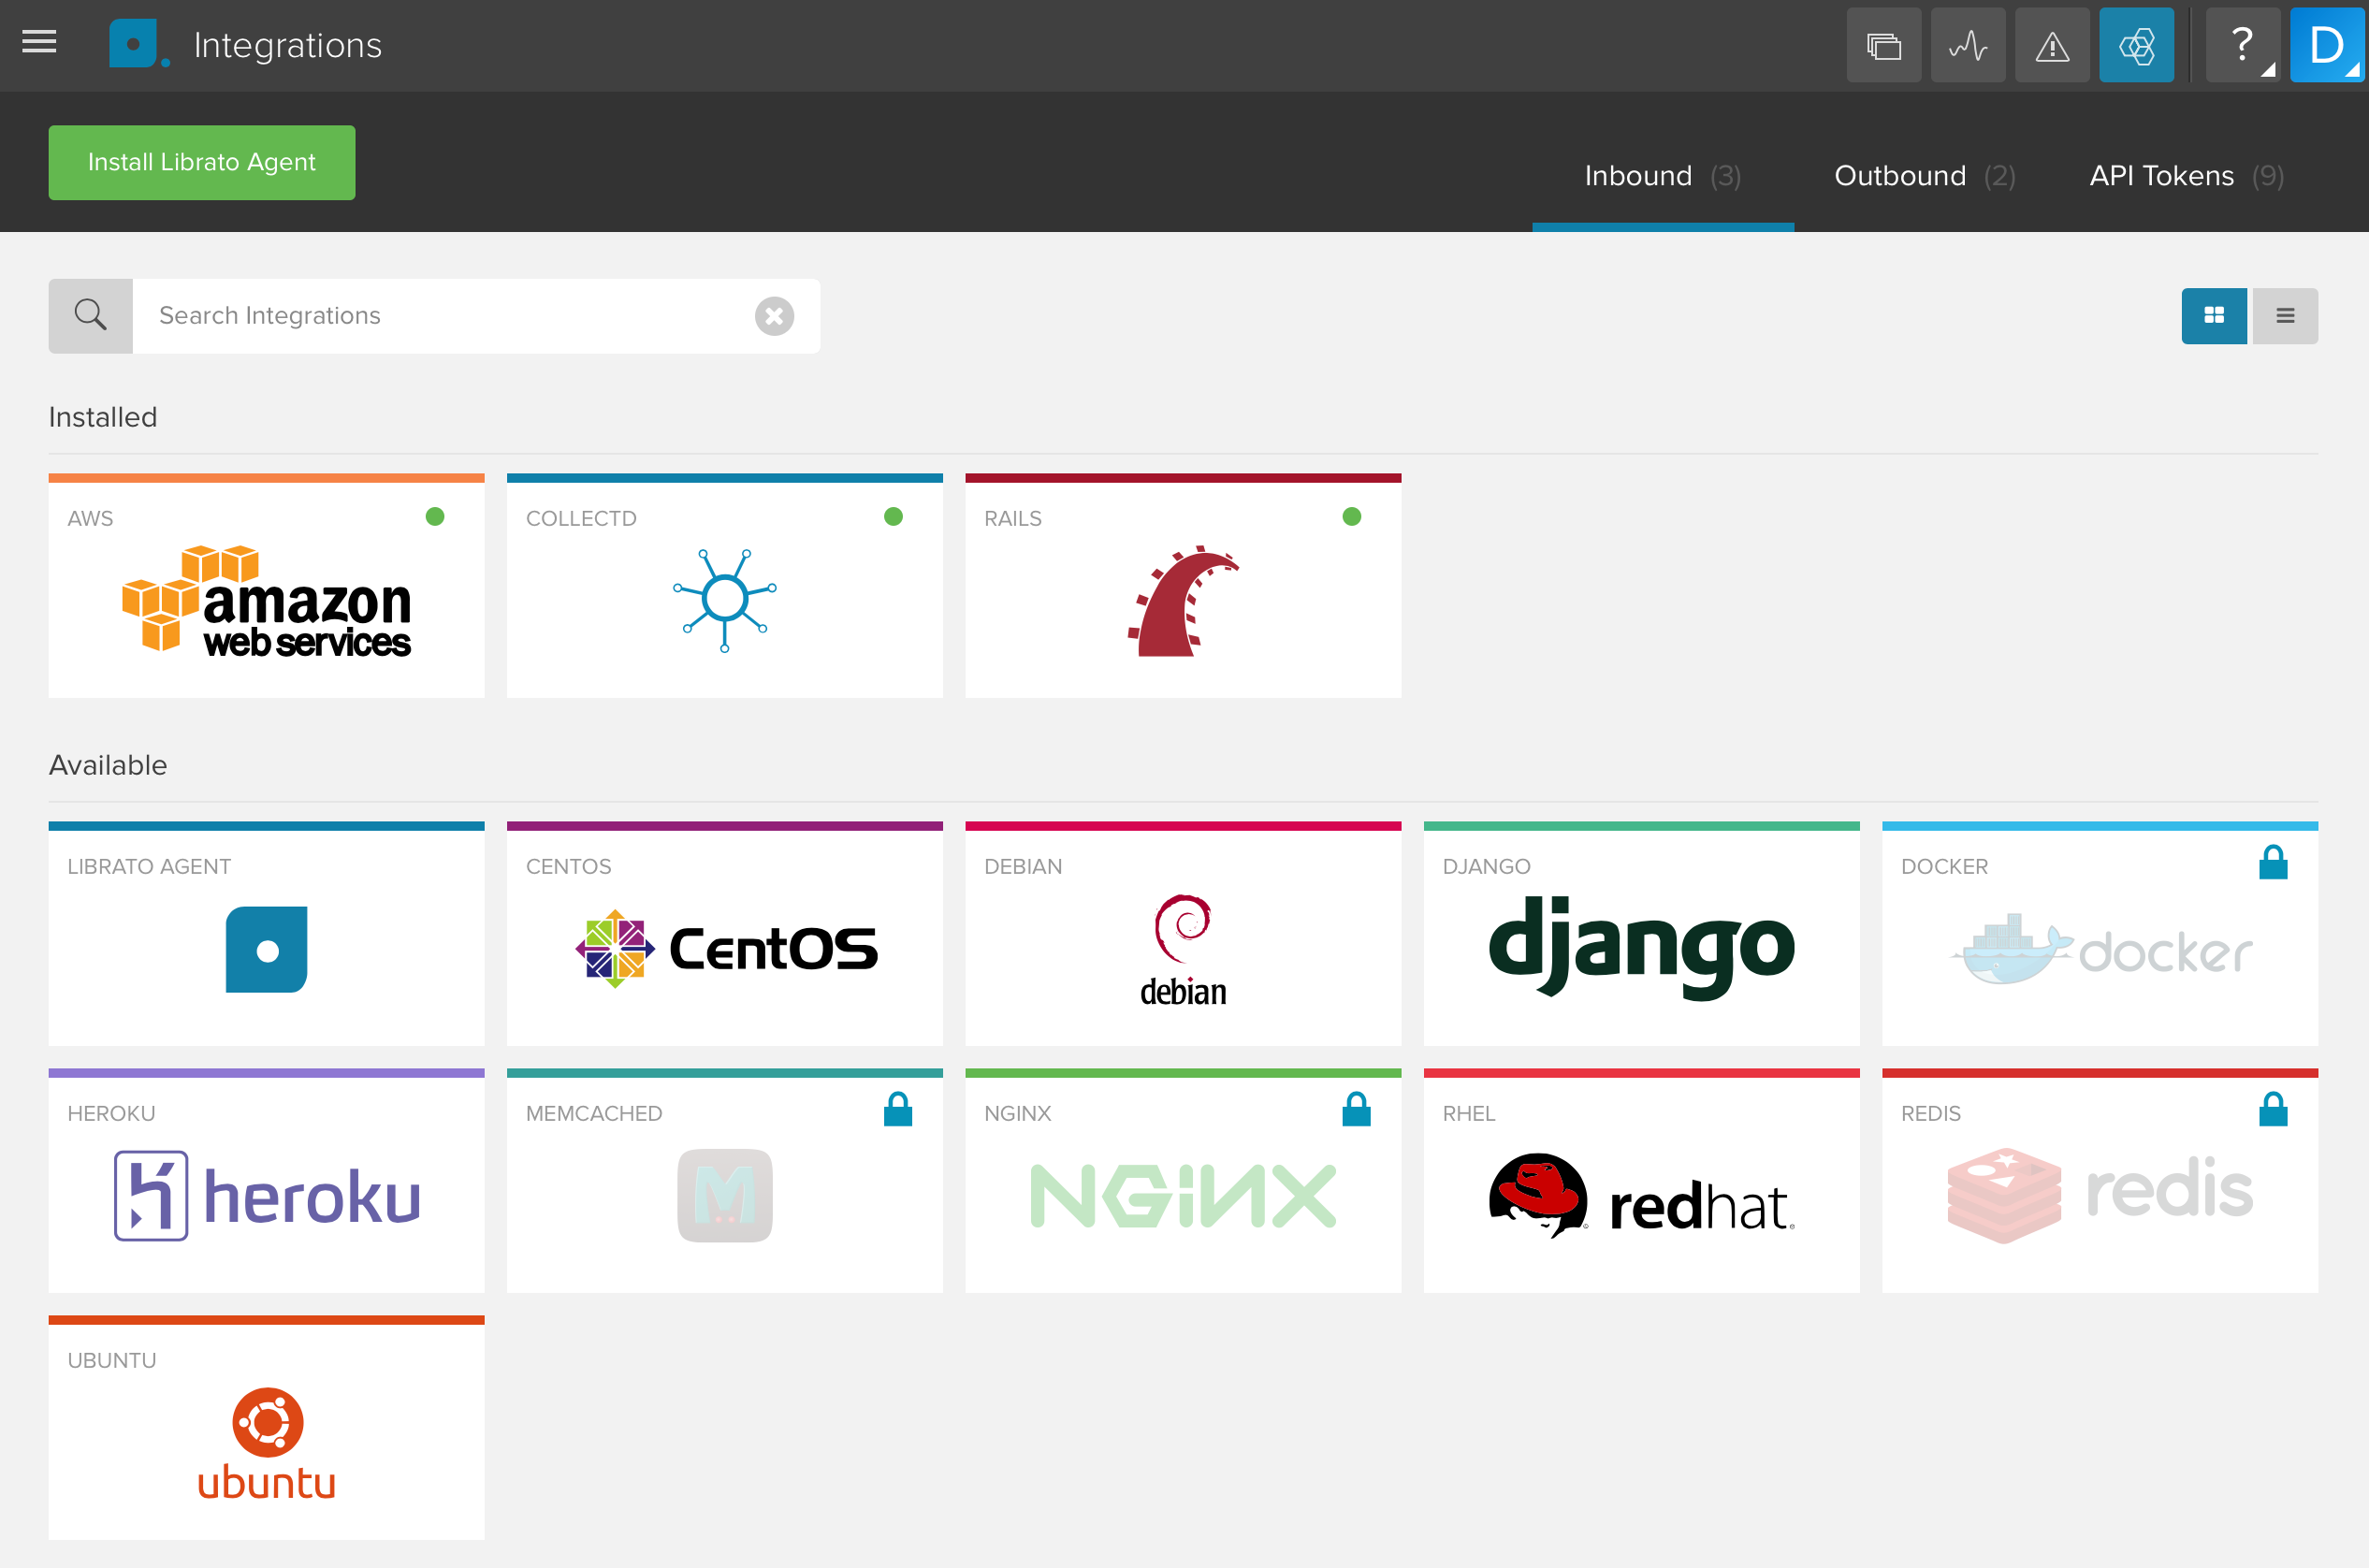
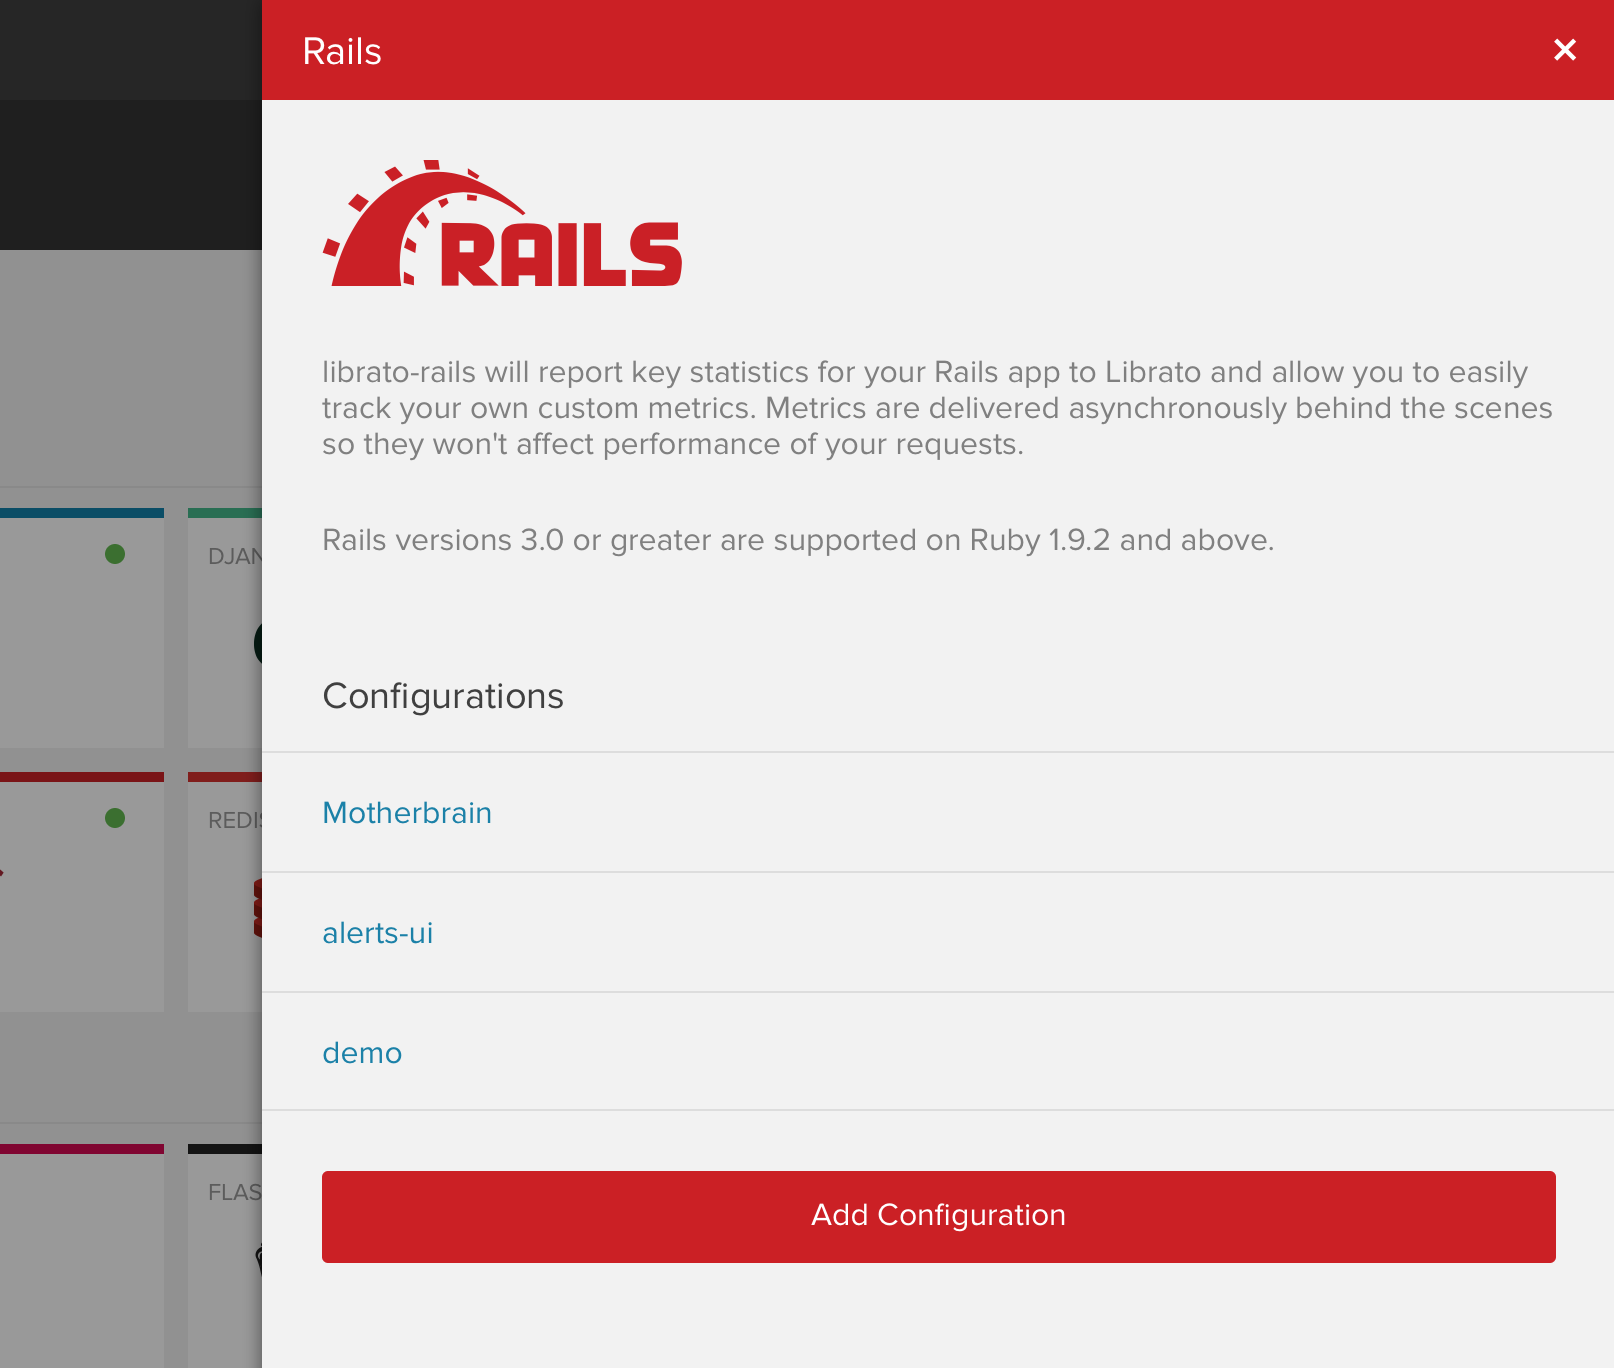
To create a new integration, click on the Rails icon, then on the “Add Configuration” button:
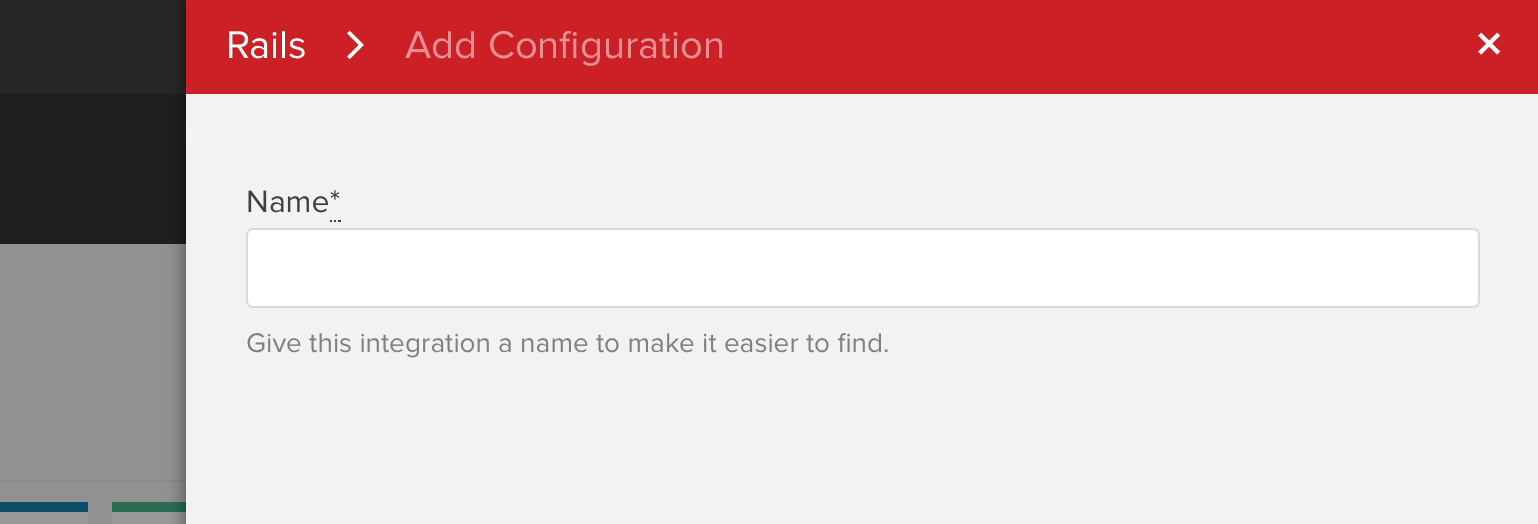
Give the integration a unique name.
After saving, a configuration snippet is generated:
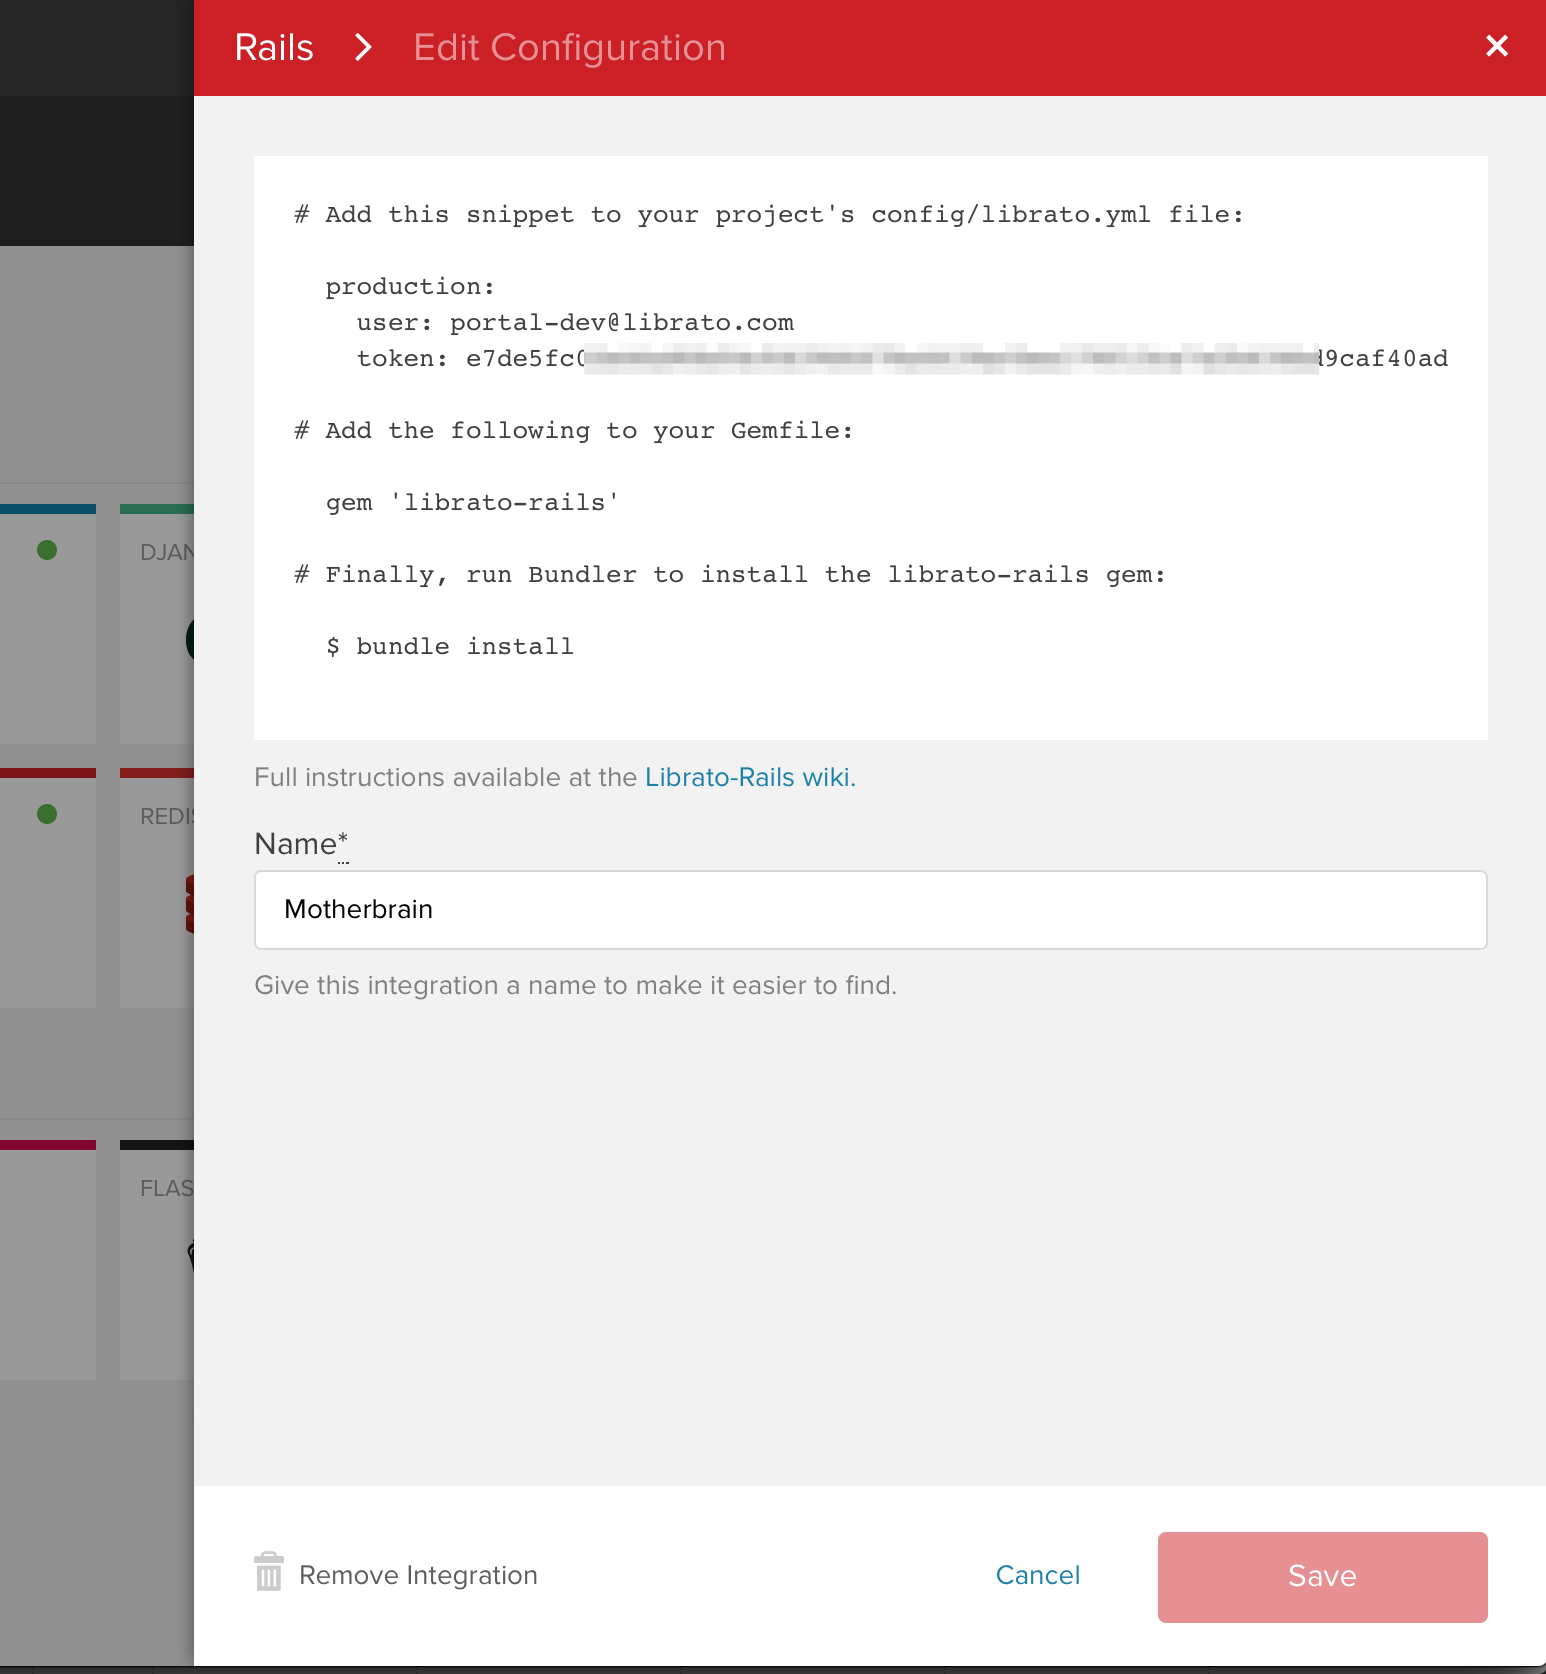
Add the following to your Gemfile:
gem 'librato-rails'۪
Then run bundle install. Next, add the previously generated settings to
config/librato.yml in your application. Custom
prefixes
are incompatible with the Rails integration. If you are using the
integration, omit the prefix field from the configuration file. See the
full configuration
documentation
for other available options.
Finally, commit and deploy your updated application. After a few
minutes, you should begin seeing rails.* and rack.* metrics being
reported. If you have any issues getting metrics to report, you may find
the
troubleshooting
steps helpful. You may also want to take a look at the
FAQ.
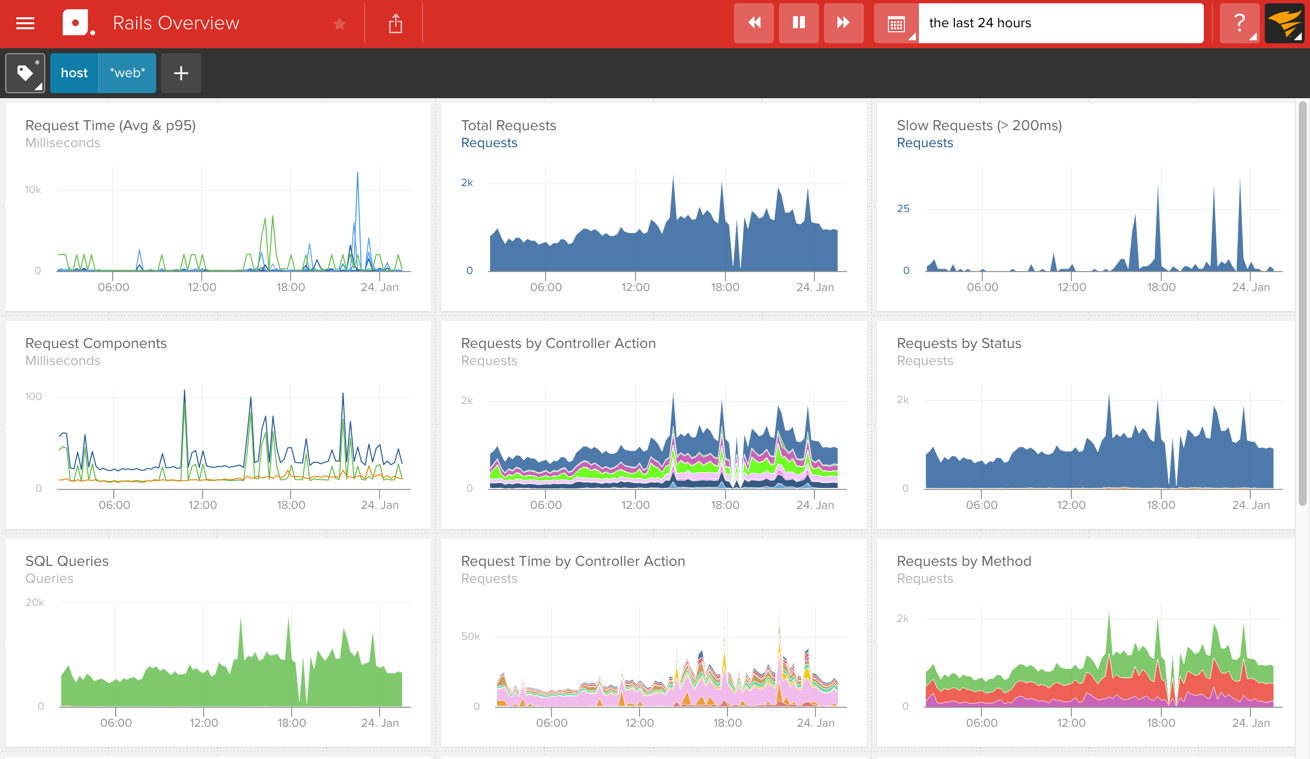
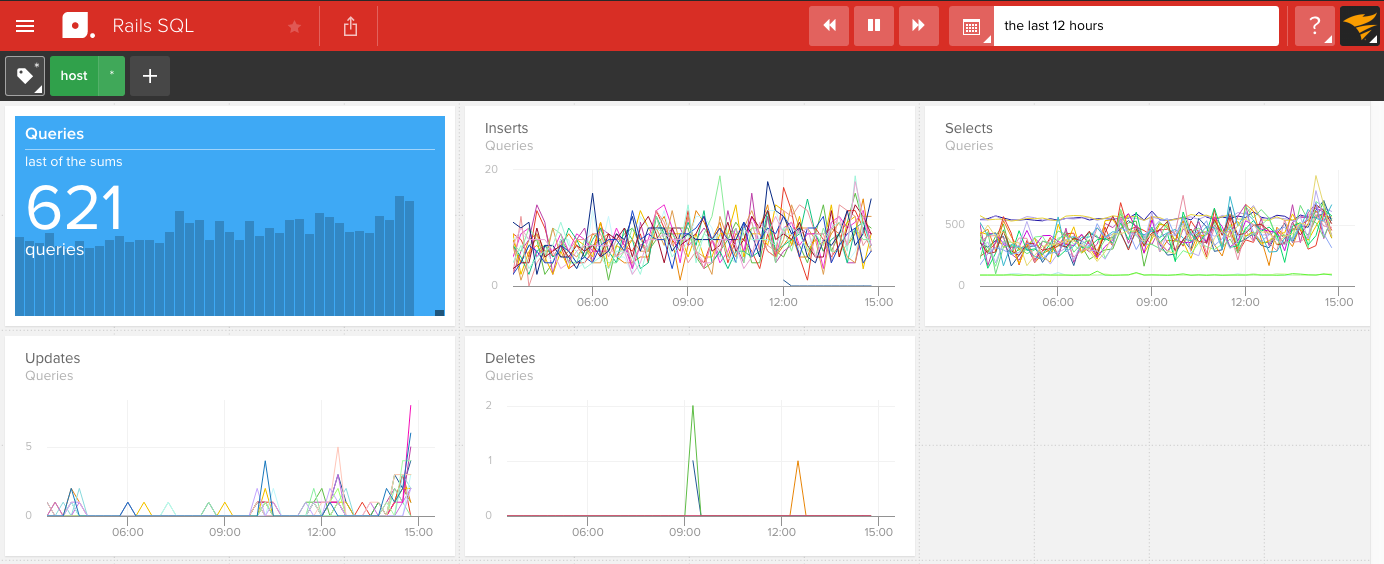
To verify the configuration, navigate to Spaces for access to the newly curated Rails dashboards:
Rails Overview
Rails SQL
Rack

Once your data is showing up correctly you can start timing segments of your code in production or tracking events using custom instrumentation. Build custom spaces to get the exact views you need for what is most important for your application.