VictorOps
![]()
VictorOps is a collaborative platform that helps Operation teams cope with their advanced alert management and infrastructure timeline. The VictorOps platform seamlessly orchestrates team situational awareness, incident creation, escalation, notification, and remediation with team members regardless of physical location or time of day.
VictorOps Configuration
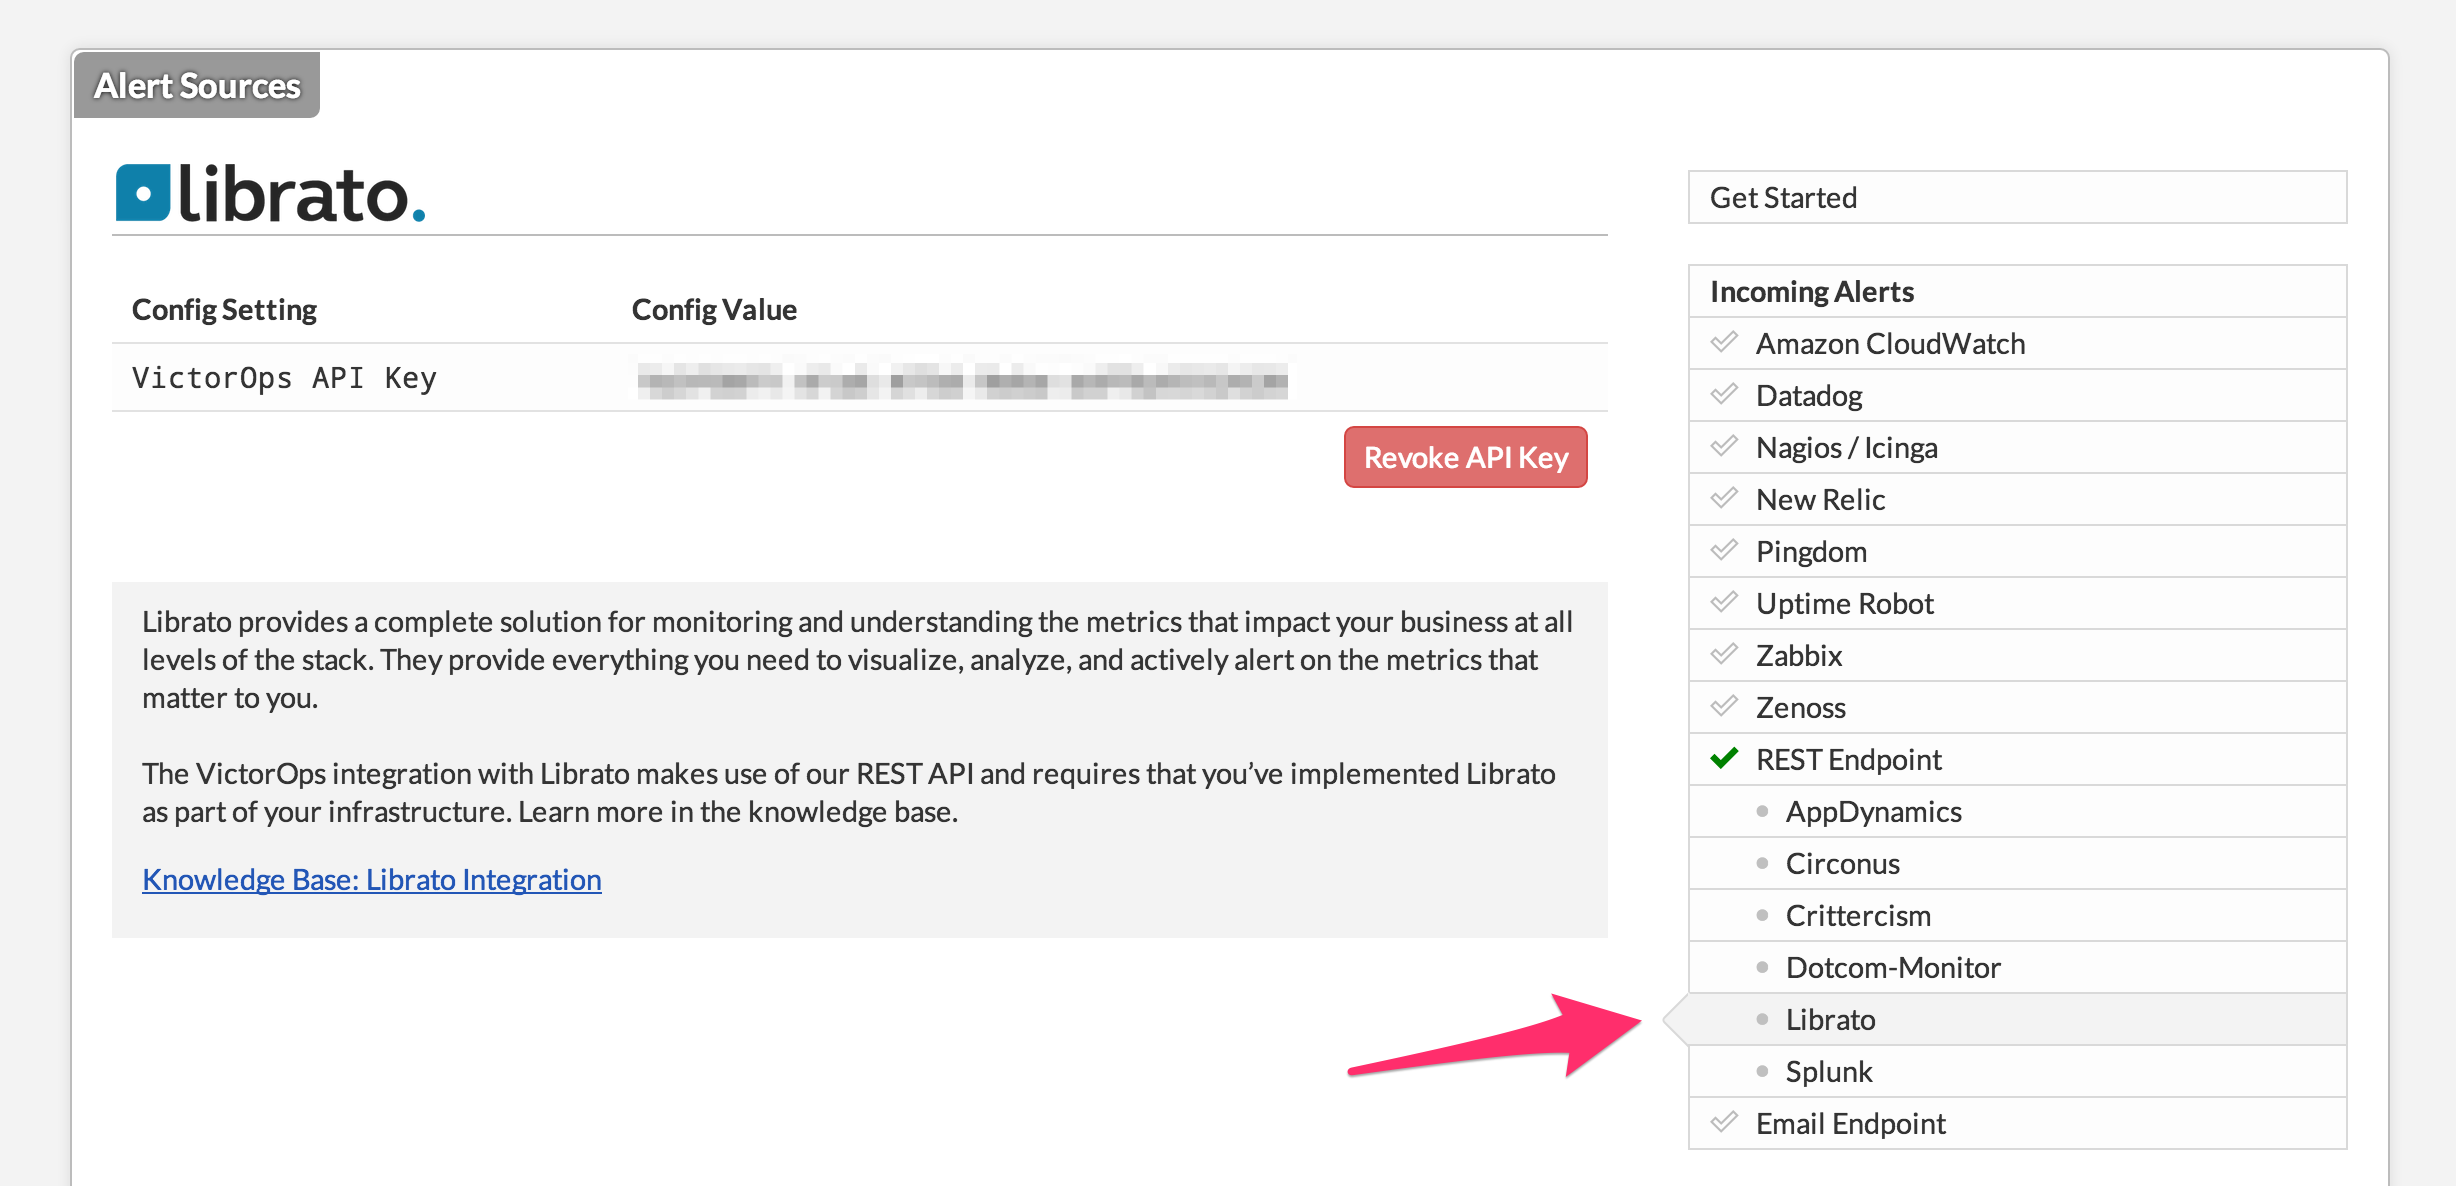
It’s assumed that you already have a VictorOps account. You’ll need to login to your account and navigate to the Integrations settings. From here you’ll want to select Librato from the list of REST Endpoint integrations. Here you’ll find the API key that will be used in the Librato integration UI.
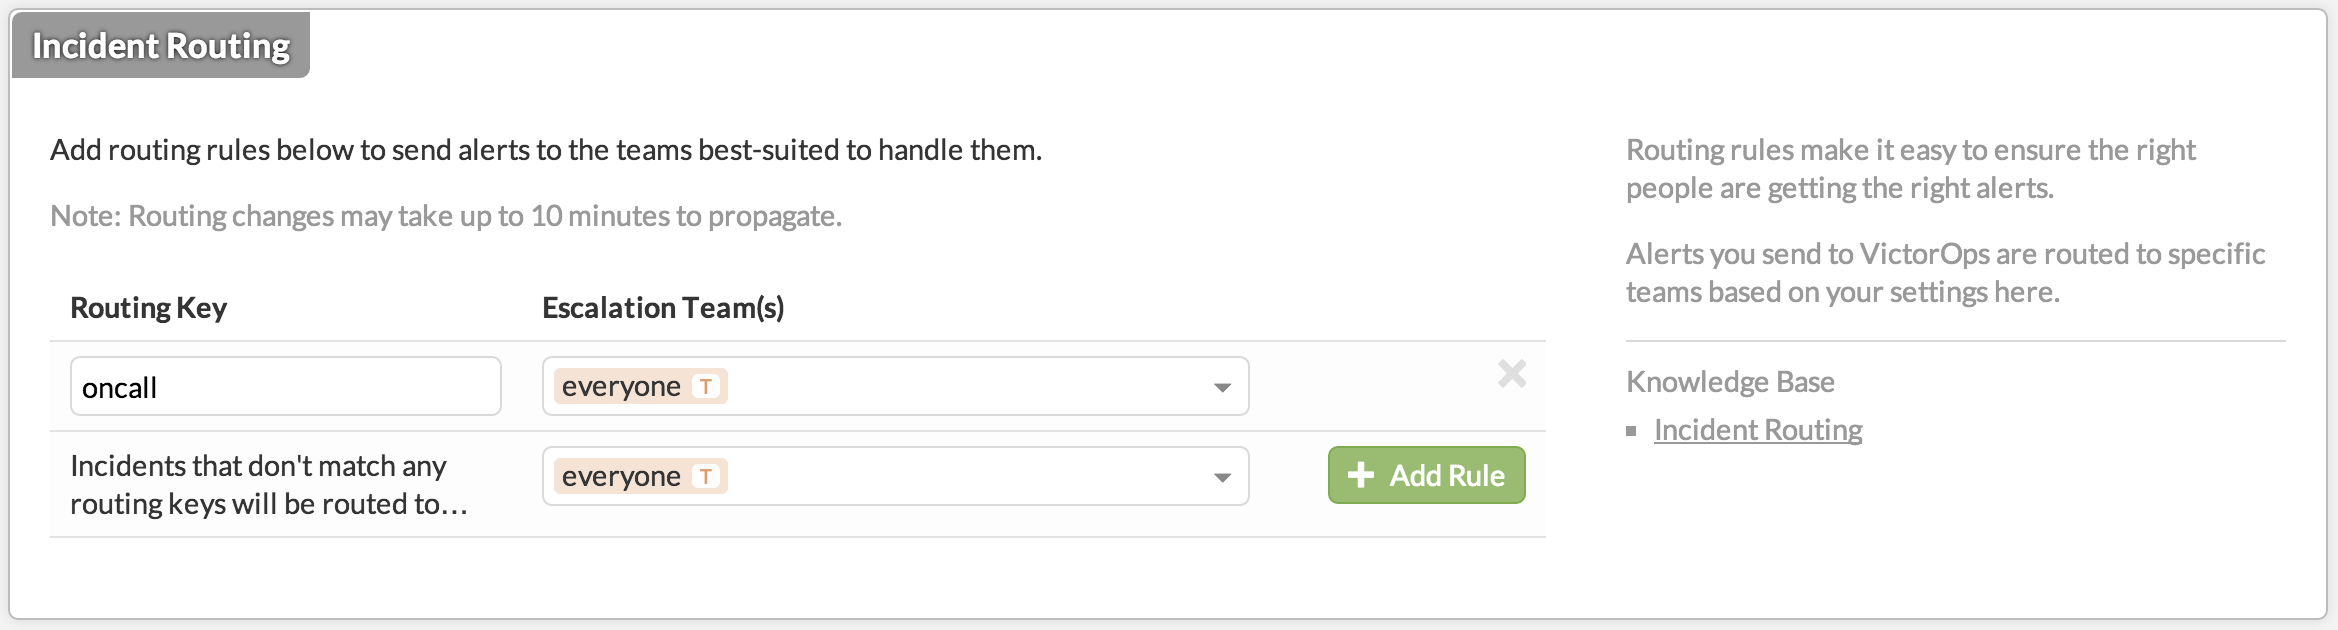
If you need to route your Librato alert to a specific team you’ll also want to scroll down and grab the appropriate Routing key (or generate a new one).
Librato Configuration
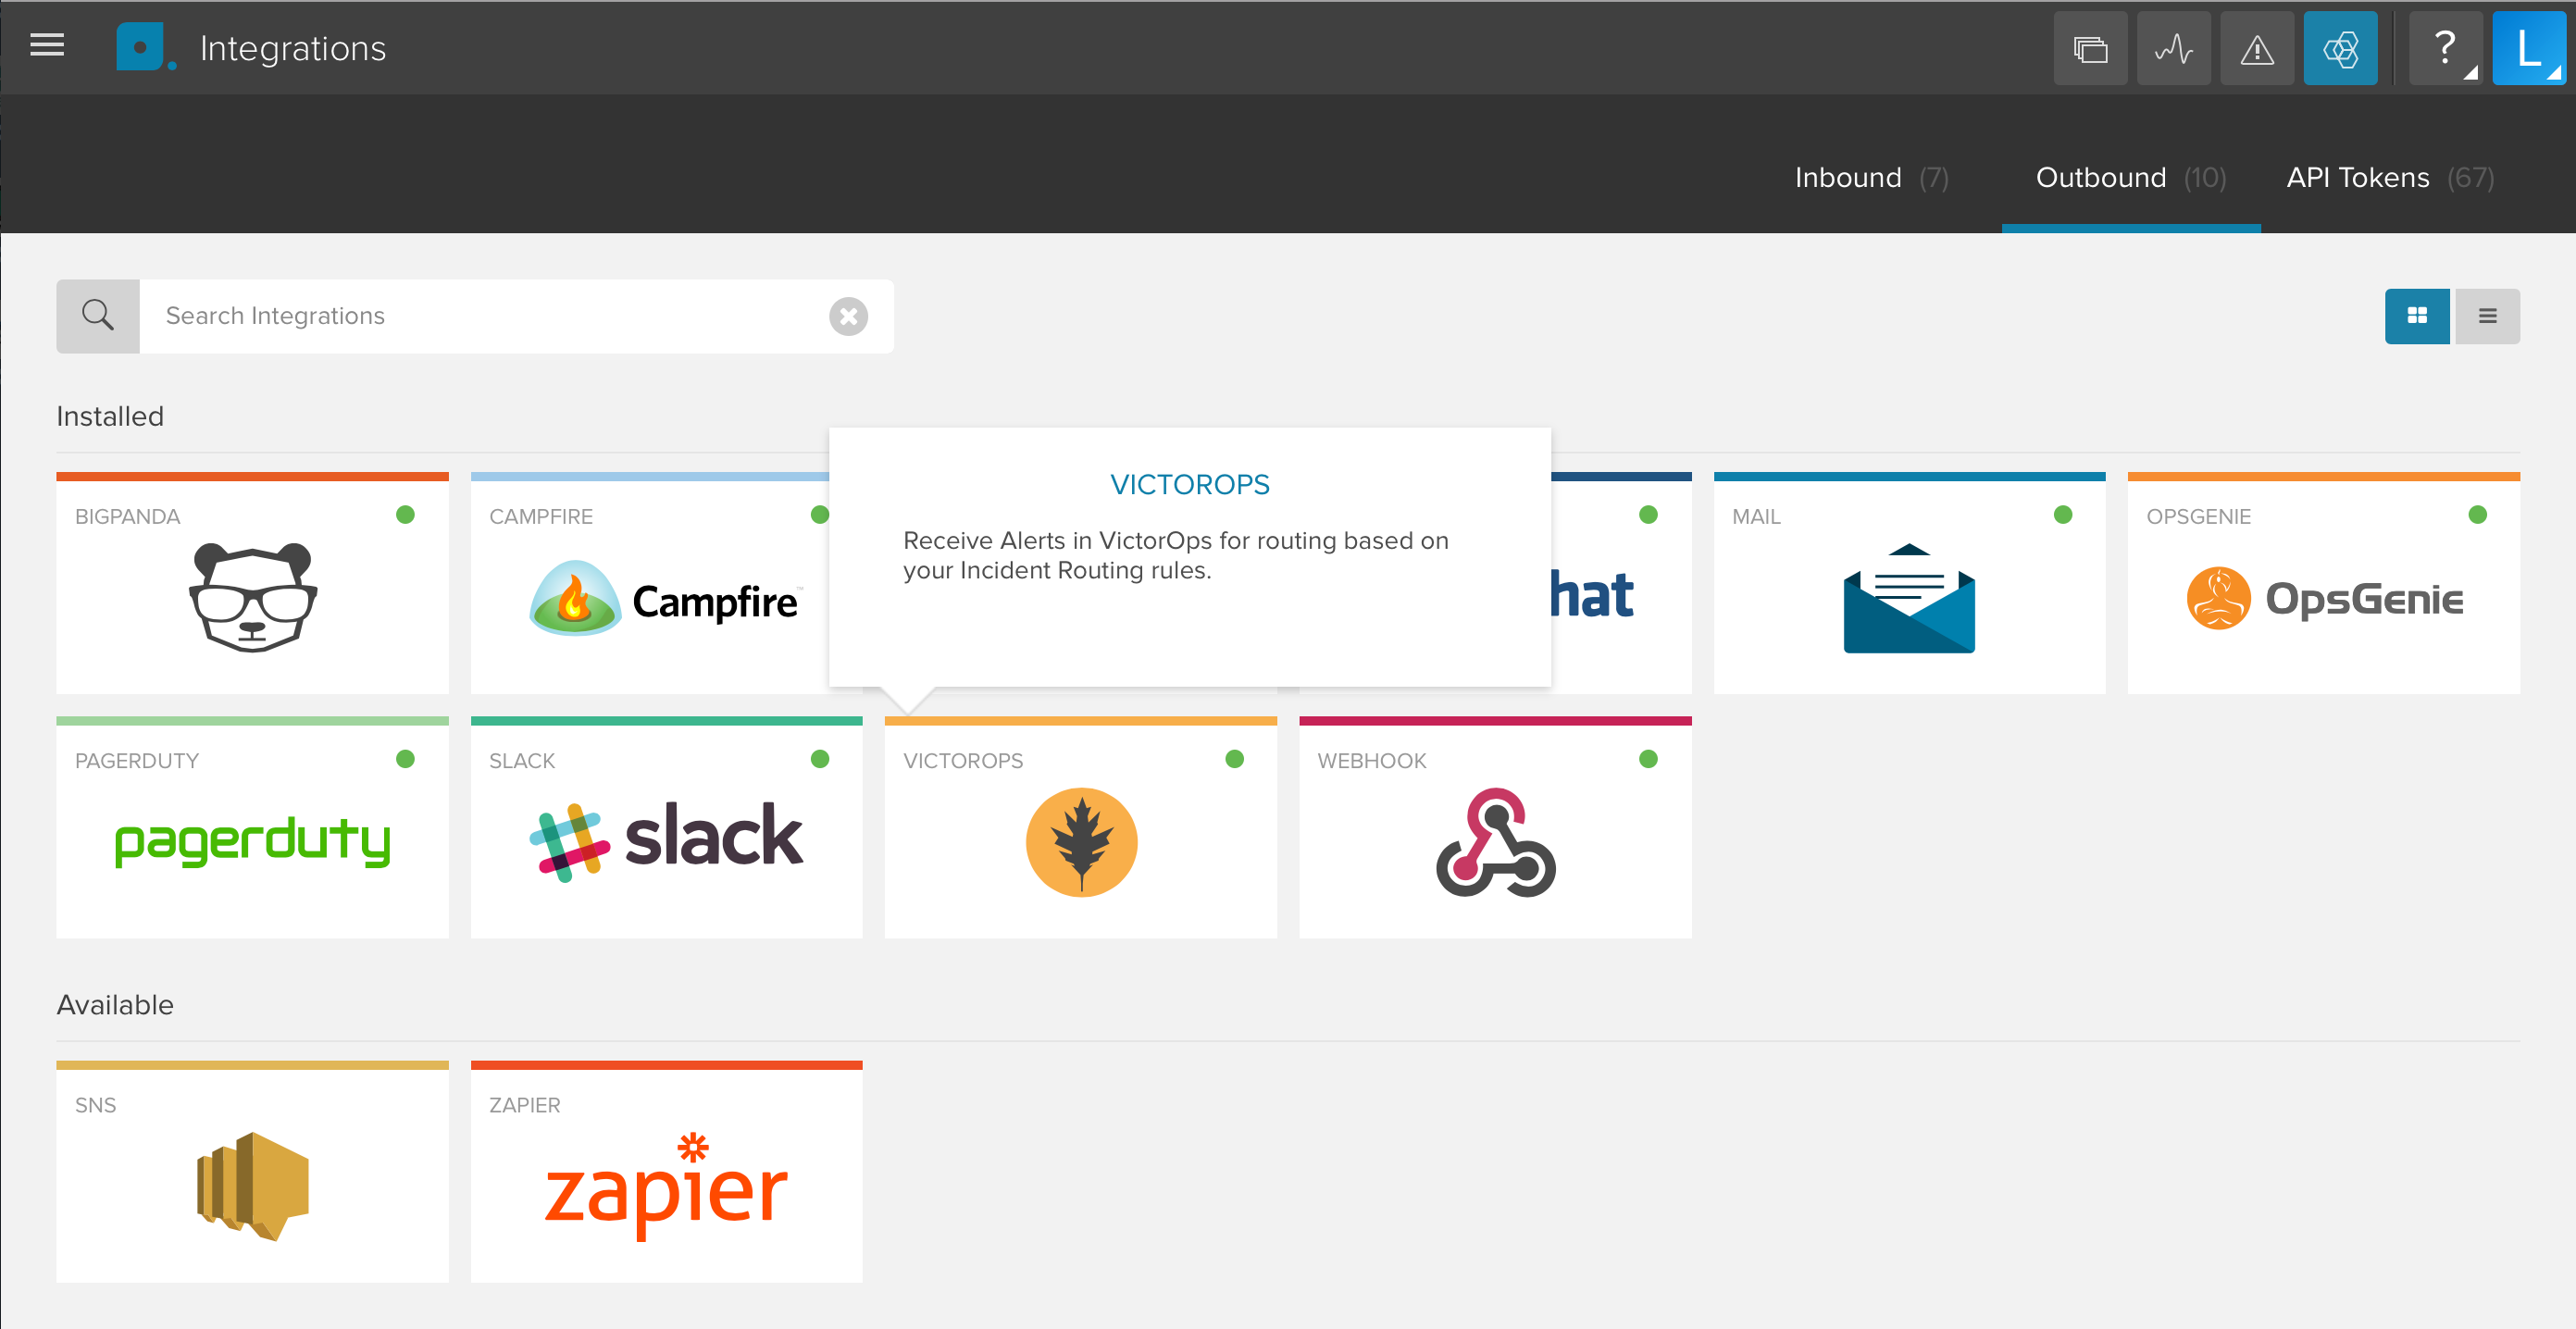
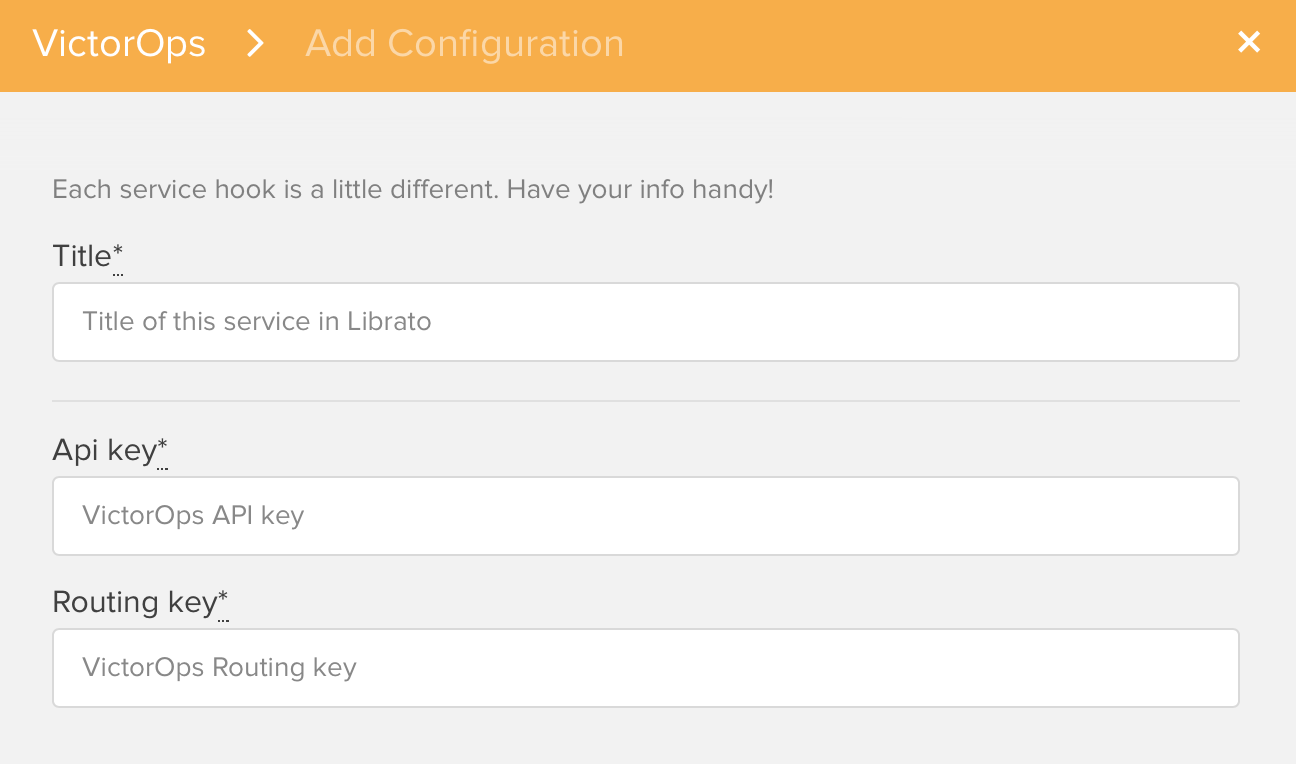
With your VictorOps information in hand, navigate to the “Outbound” section of your Integrations page. Click on the VictorOps integration, then on the “Add Configuration” button.
You can create as many VictorOps service destinations as you need. Fill in the appropriate fields using the key values copied from your VictorOps integration settings. The possible fields are:
- Title: A name for the service.
- API key: Your VictorOps API key (“Config Value”).
- Routing key: Optional key for routing alerts to a specific team.
Creating Alerts
After setting up the service you can associate alerts to your service destination. You can read more about creating alerts in the Alerts Introduction knowledge base article.

Alert Notifications
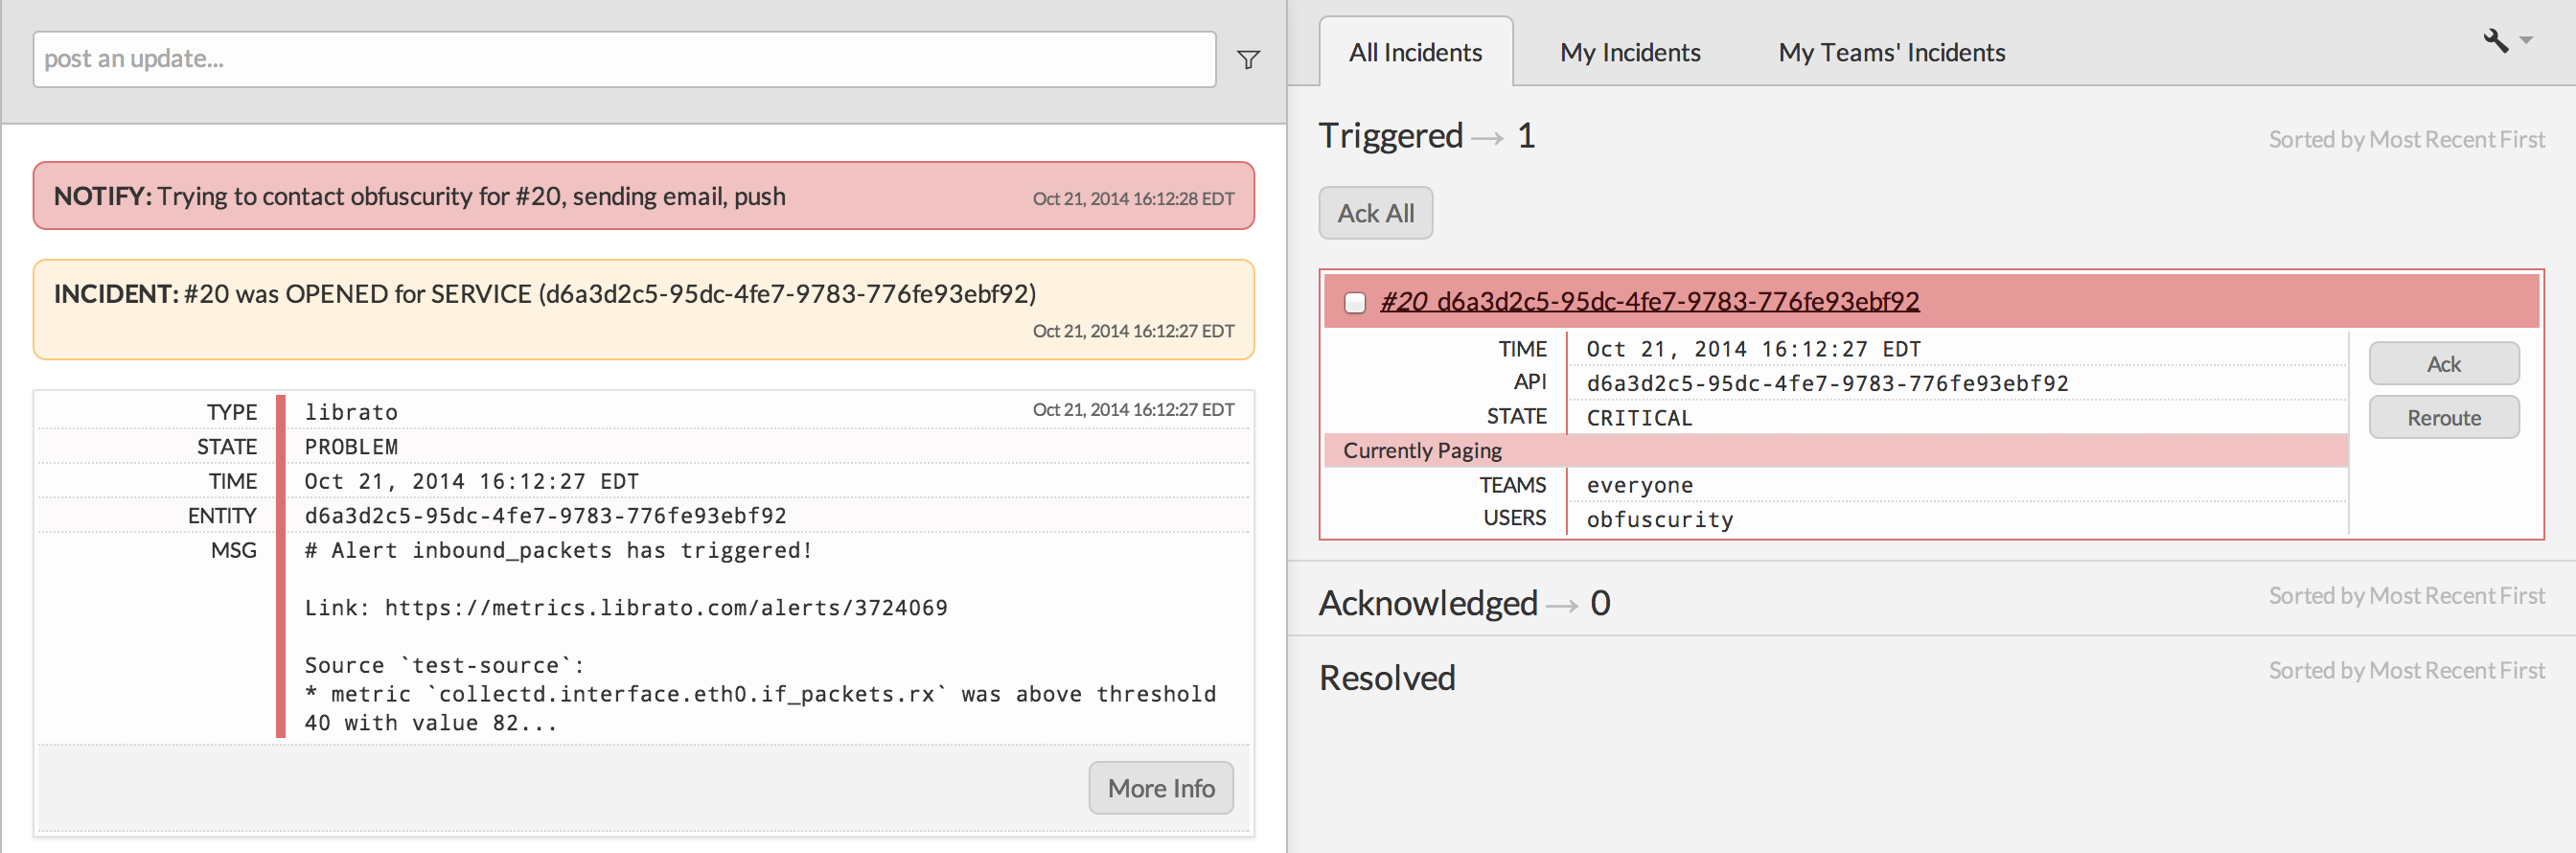
When an alert fires the payload is sent to your VictorOps timeline and will be routed to the appropriate team as defined by your Incident Routing rules.