AWS SNS

Amazon Simple Notification Service (SNS) makes it possible to coordinate and manage the delivery of messages to endpoints. SNS is frequently used to route notifications from your applications or services, through user-defined “topics”, and eventually to one or more supported endpoints such as HTTP, Email, SMS, or even other supported Amazon Web Services. Librato supports SNS as a service notification type, allowing you to craft custom delivery pipelines for your Librato alert notifications. Alerts sent via the SNS service integration include a JSON payload that can be deconstructed and consumed programmatically.
AWS SNS Configuration
Before you start using the integration, you’ll need to define a SNS Topic and Subscription. Adding a Topic will also generate an Amazon Resource Name (ARN) where messages can be published, and where the Subscription should read messages from.
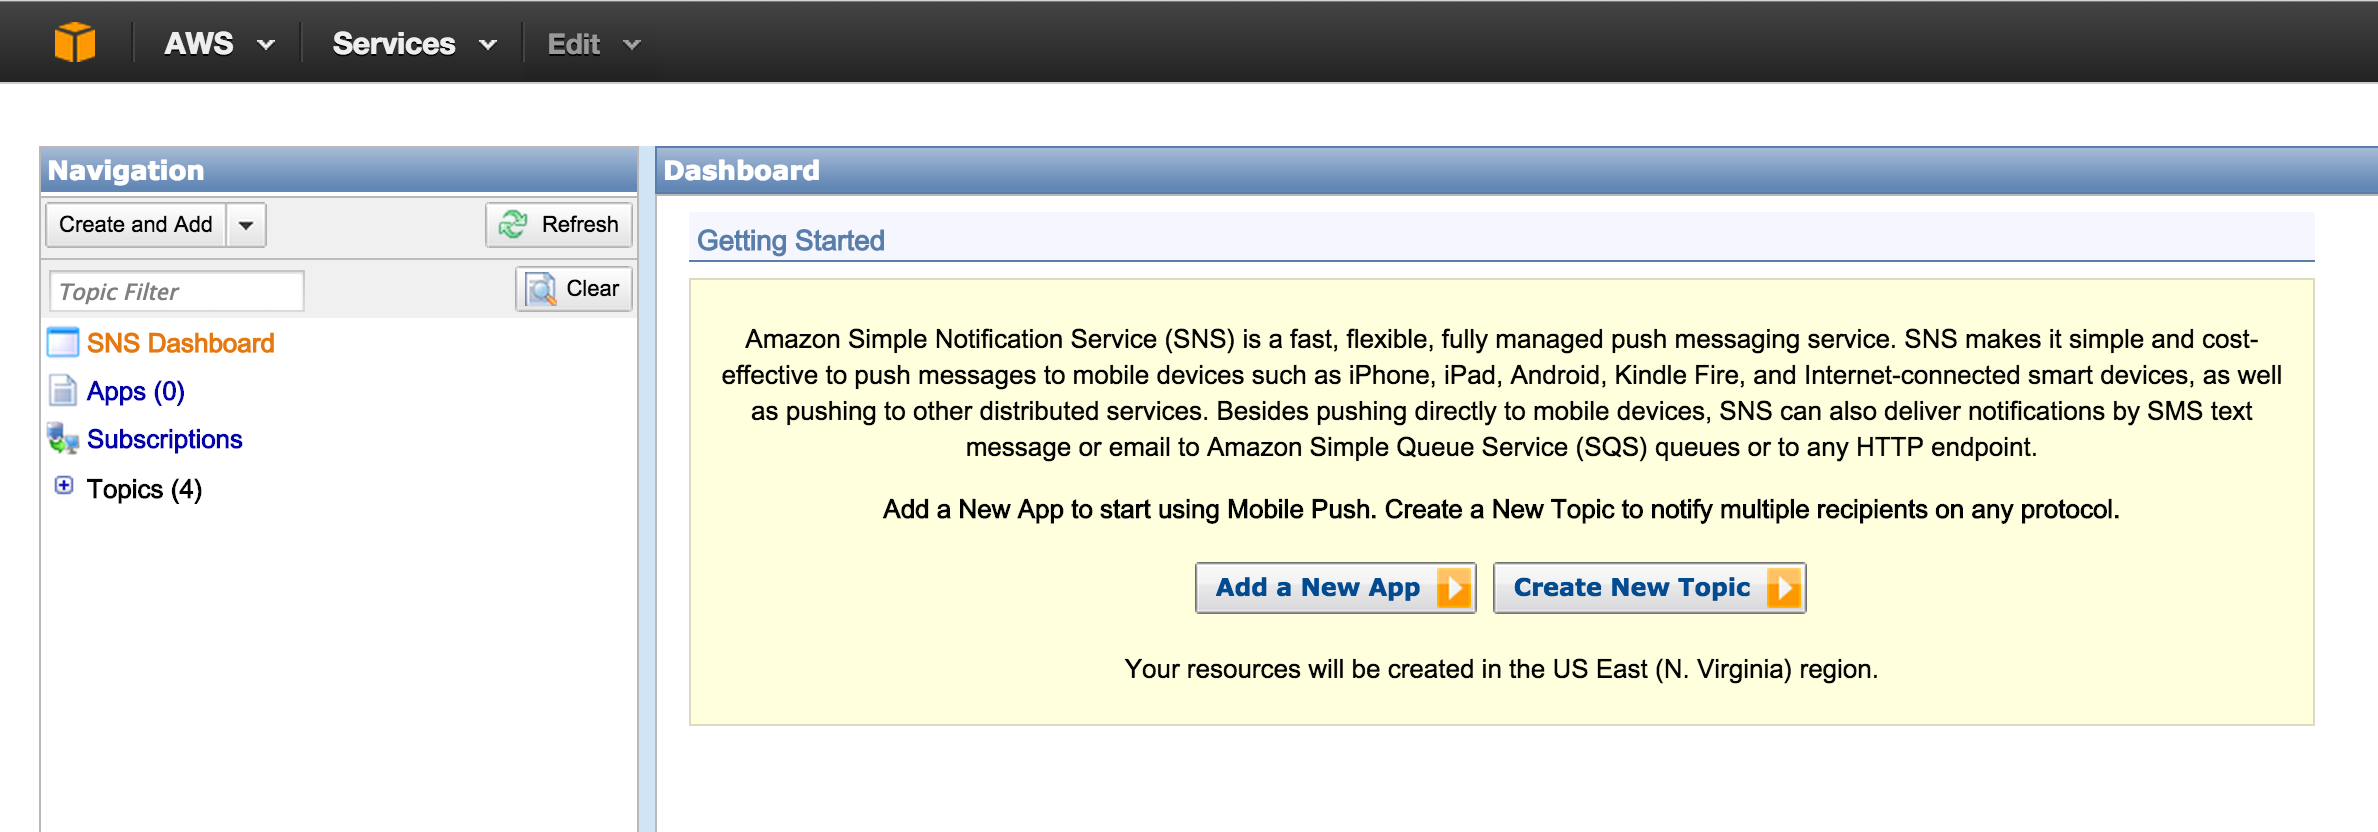
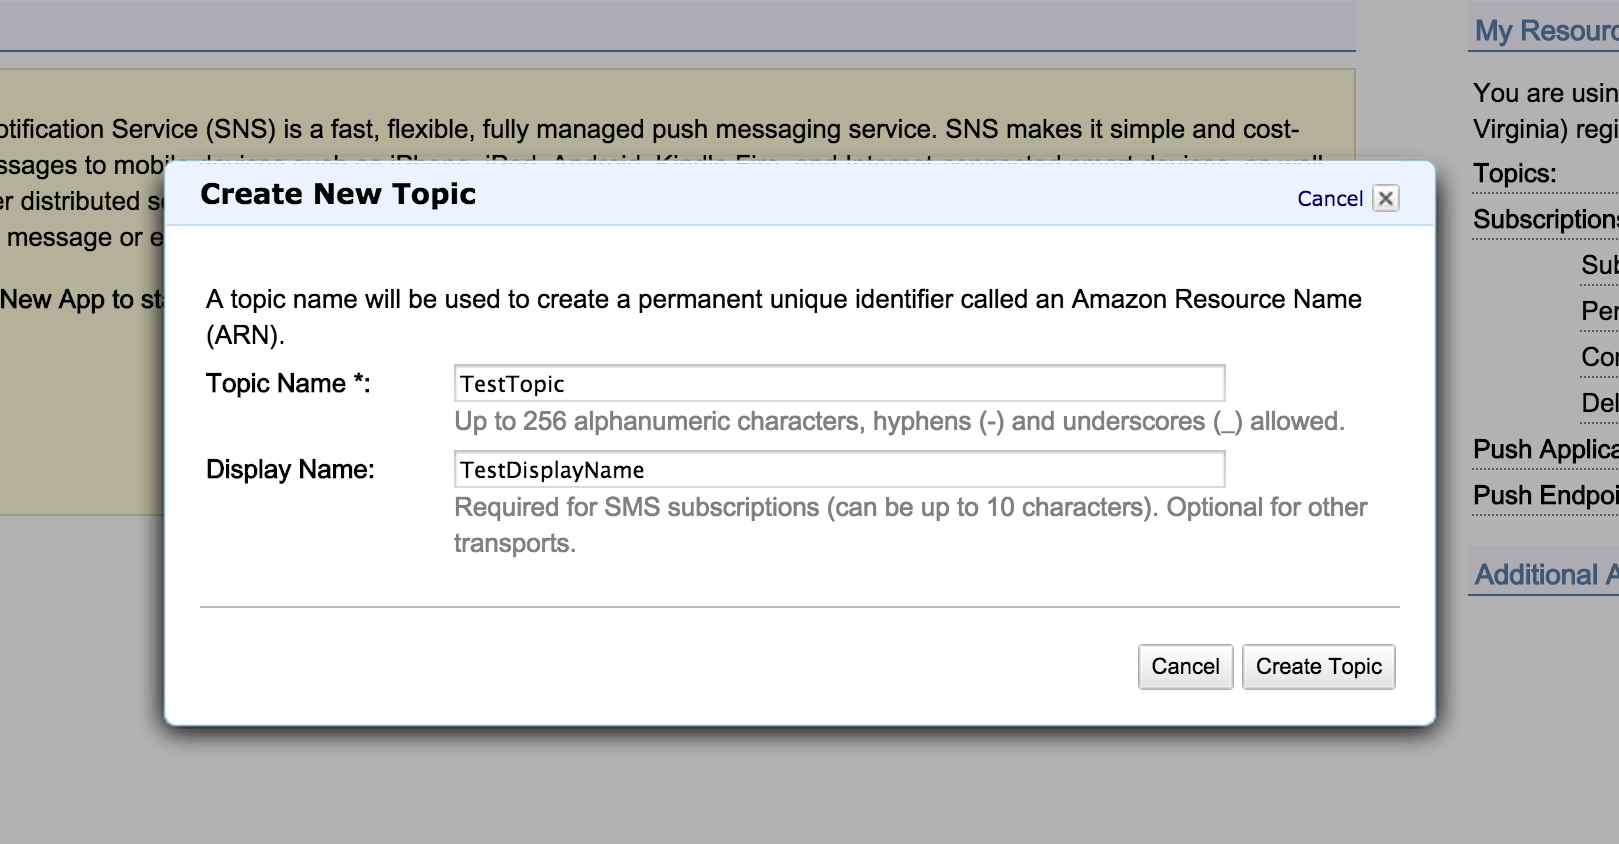
From the SNS dashboard you’ll want to choose Create New Topic to get started. Enter the Topic Name and Display Name, then click Create Topic to finish. From the Topic Details page, copy the Topic ARN value - we’ll need that in the next step.
Next, visit the Subscriptions section and click on Create Subscription. Enter the Topic ARN that we copied from the previous step. Choose the delivery Protocol you wish to use, then the Endpoint value. Since we’re creating an SMS subscription, we want to use a mobile phone number for this field. Click Subscribe to save the subscription.

The subscription we created will define how messages published to the ARN are routed along to their destination. However, we need to confirm the subscription Endpoint before any messages can be accepted. Note that the confirmation process differs according to the Protocol type chosen. Once you’ve confirmed your subscription you’ve finished with the SNS portion of the setup process. One final AWS detail - we recommend creating a new AWS user with limited permissions. Go to the IAM Management Console and create a new user with publish permissions for the SNS Topic ARN you’ll be using. Here is a sample policy document that covers our use case.
{
  "Statement": [
    {
      "Effect": "Allow",
      "Action": [
        "sns:Publish"
      ],
      "Resource": [
        "arn:aws:sns:us-east-1:1234567801234:TestTopic"
      ]
    }
  ]
}
Librato Configuration
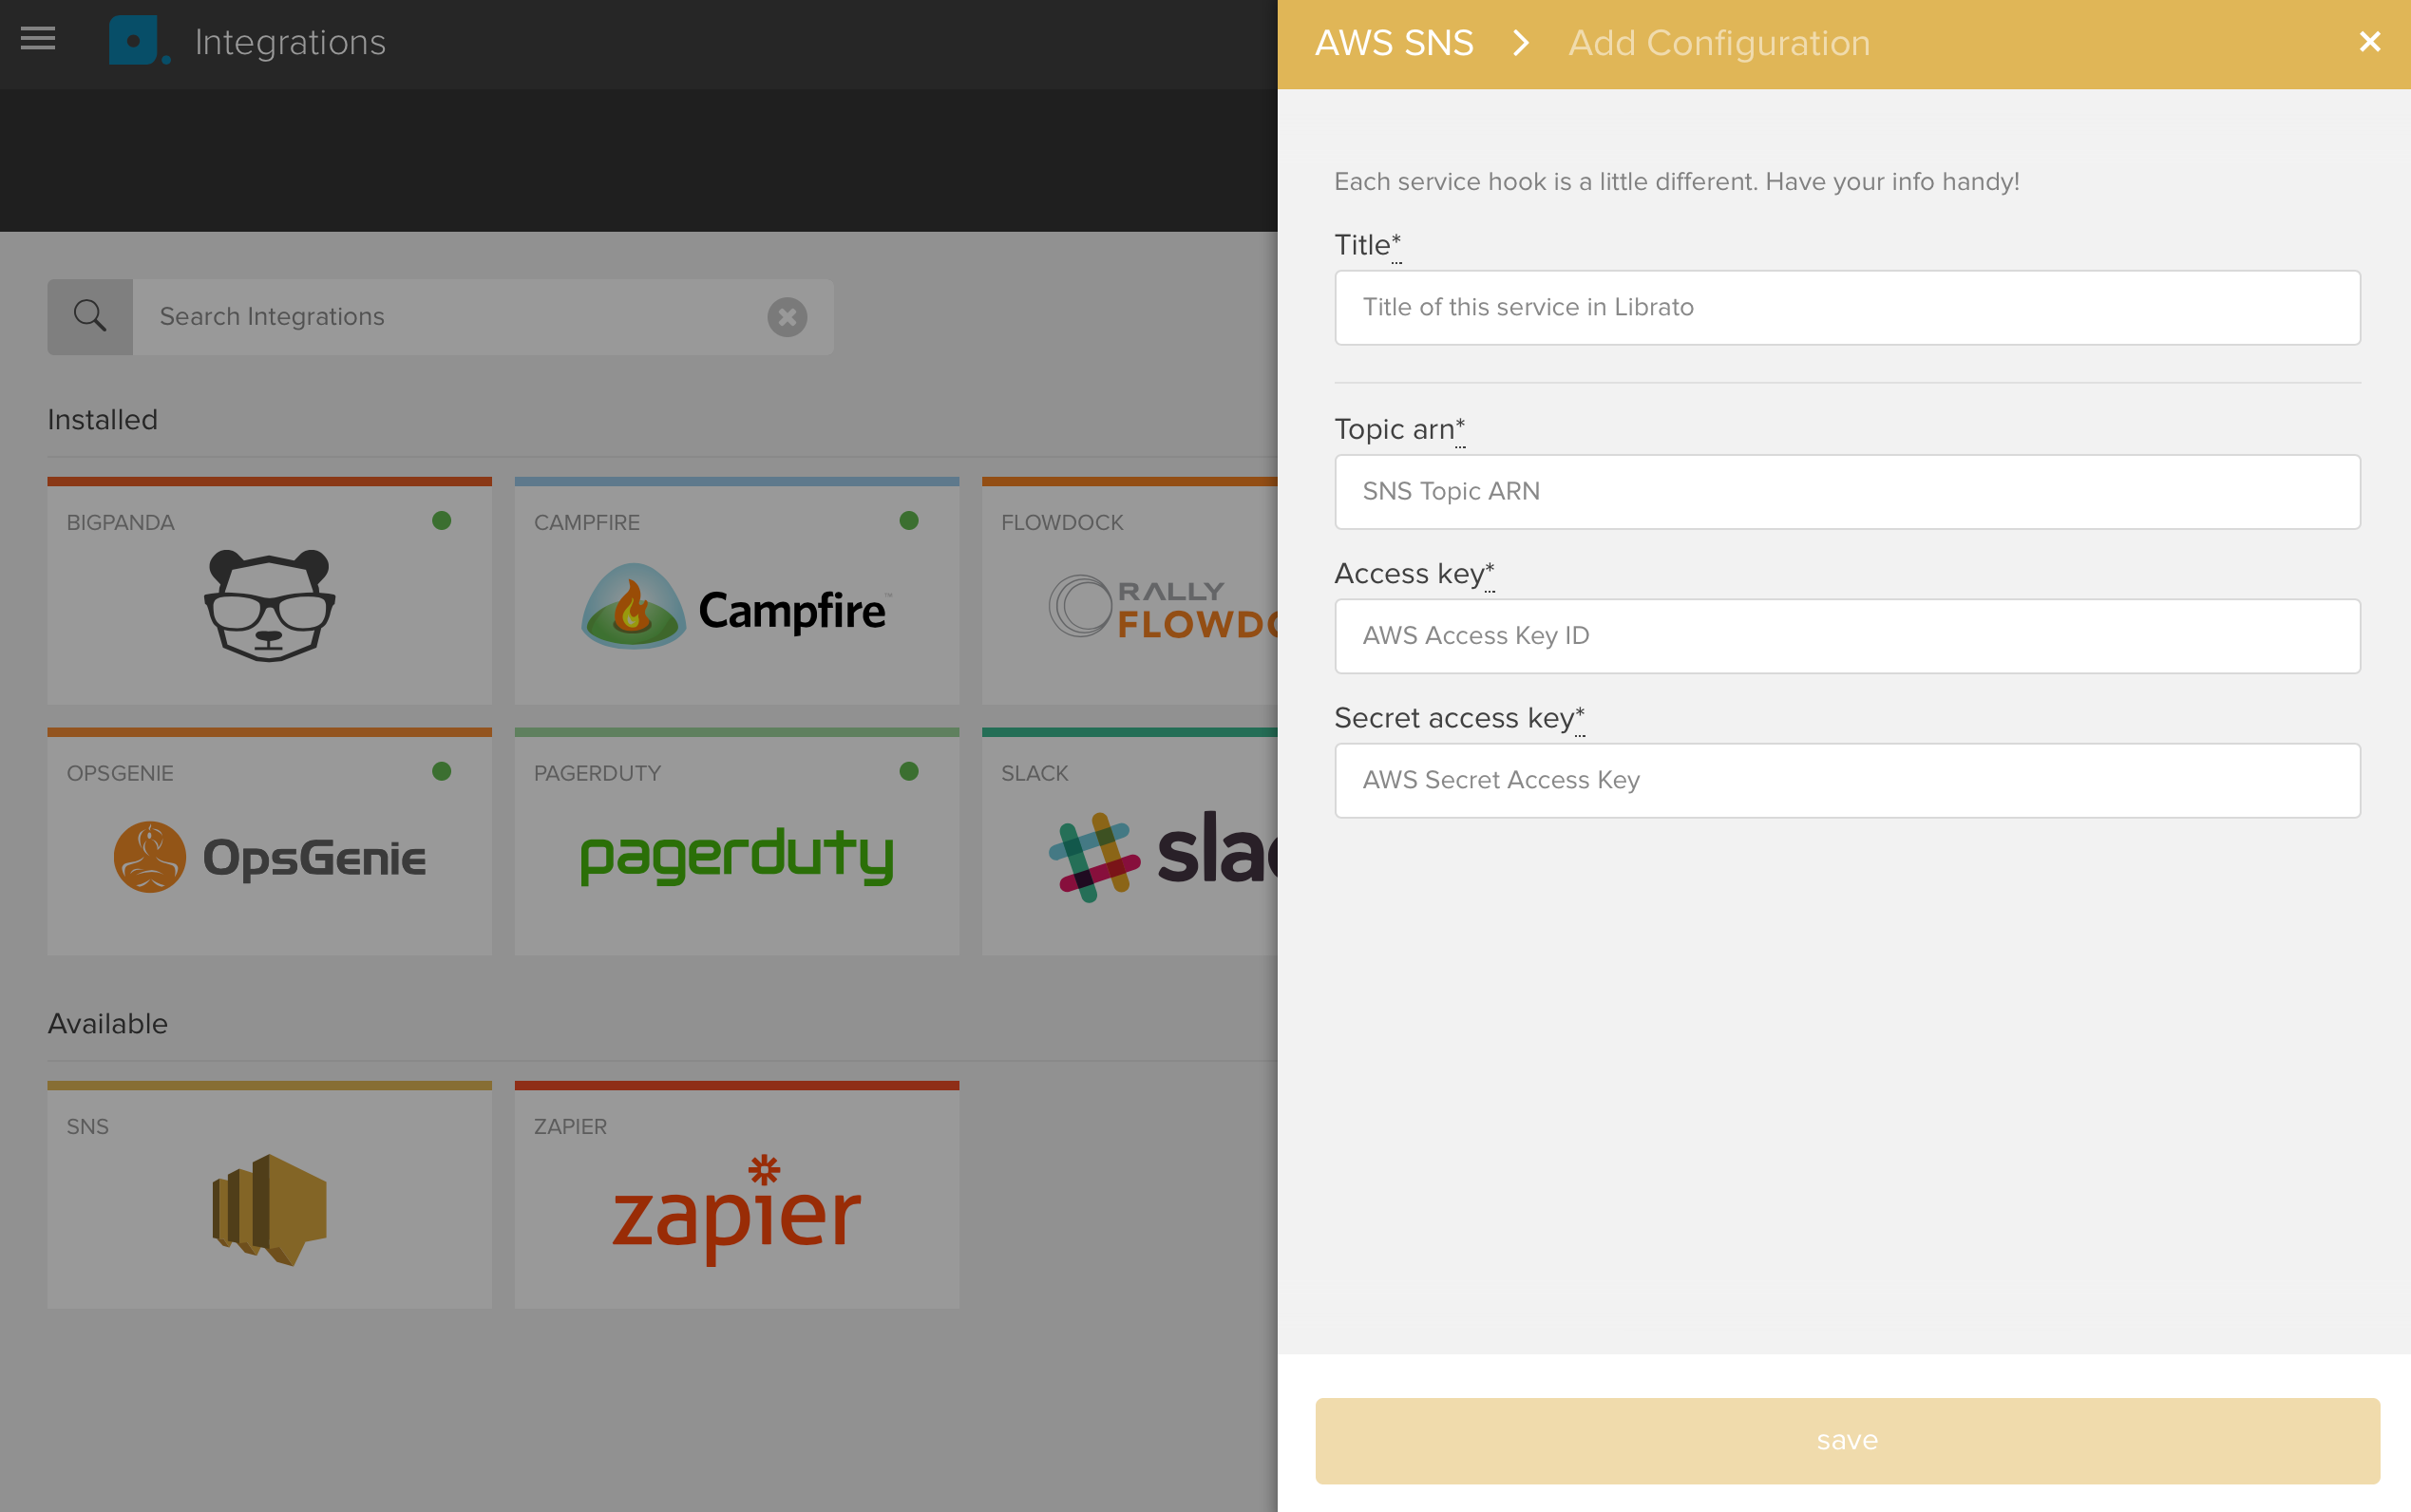
With your AWS SNS information in hand, navigate to the “Outbound” section of your Integrations page. Click on the AWS SNS integration, then on the “Add Configuration” button.
Enter your Topic ARN, IAM Access Key, and IAM Secret Access Key in the appropriate fields, and save.
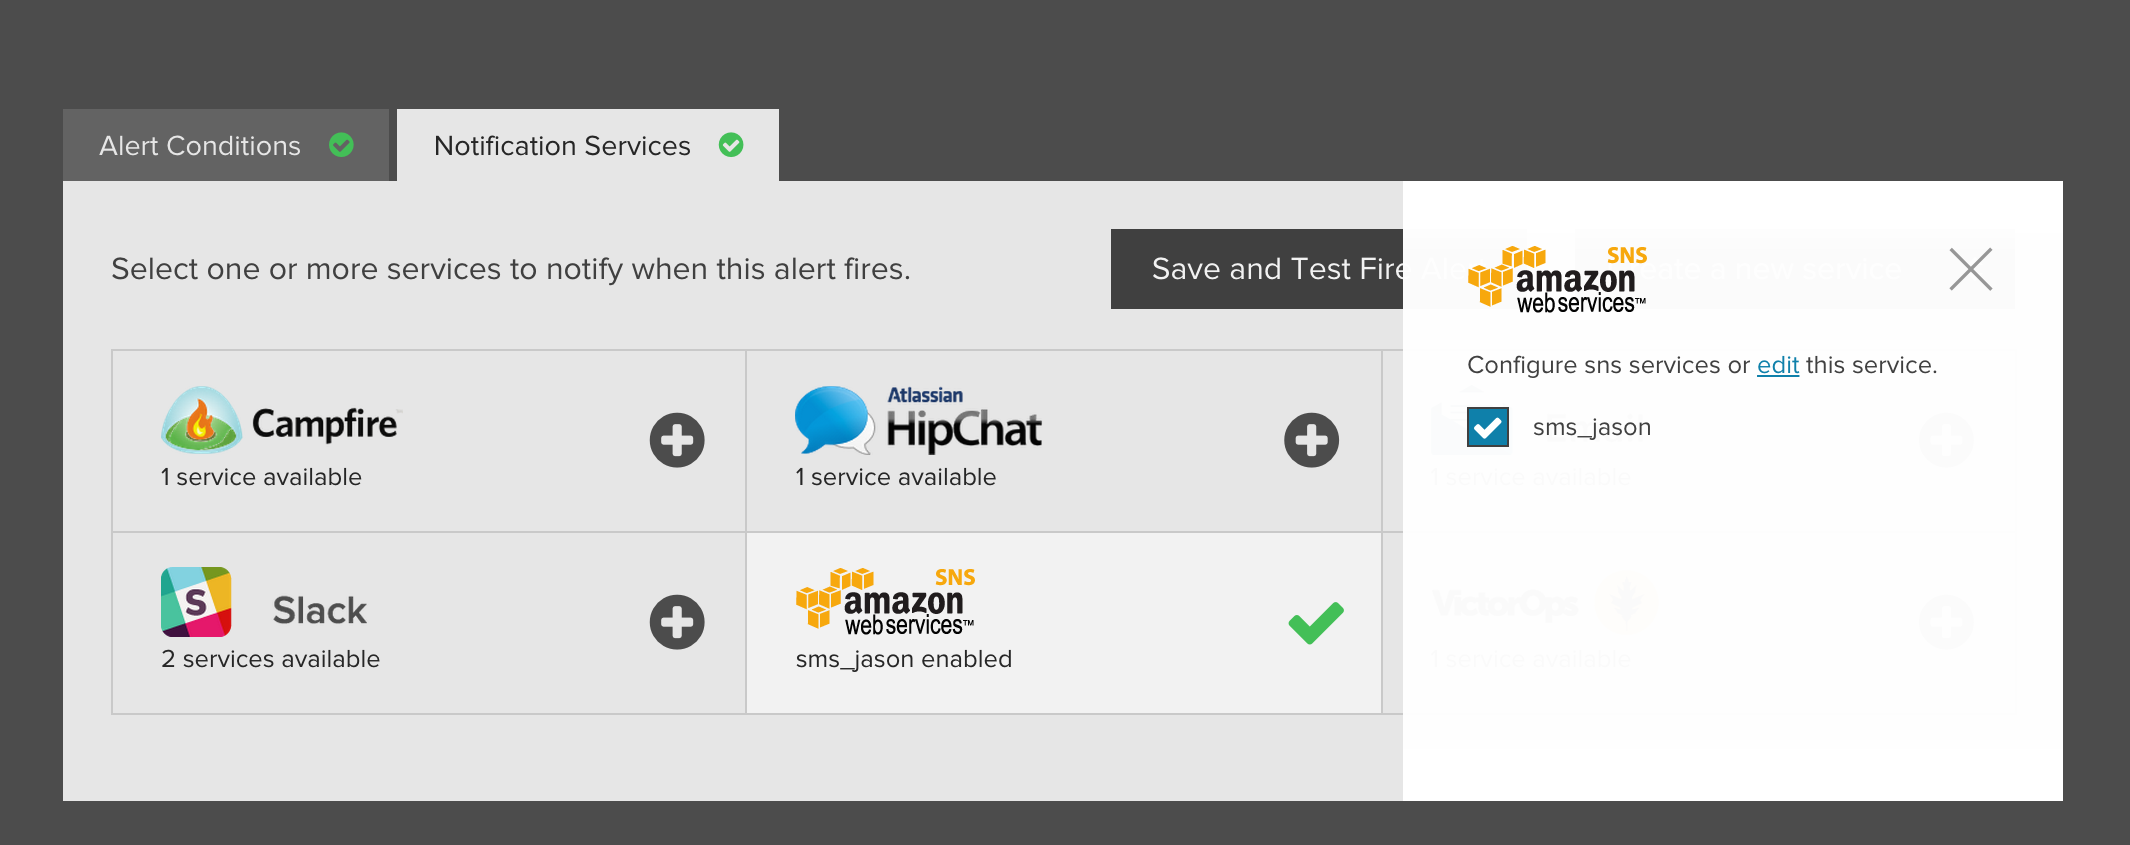
Setting the Alert Notification Service
After setting up the service you can associate alerts with your service destination. You can read more about creating alerts in the Alerts Introduction knowledge base article.